LOCATIONS
 How do I create and Manage Locations?
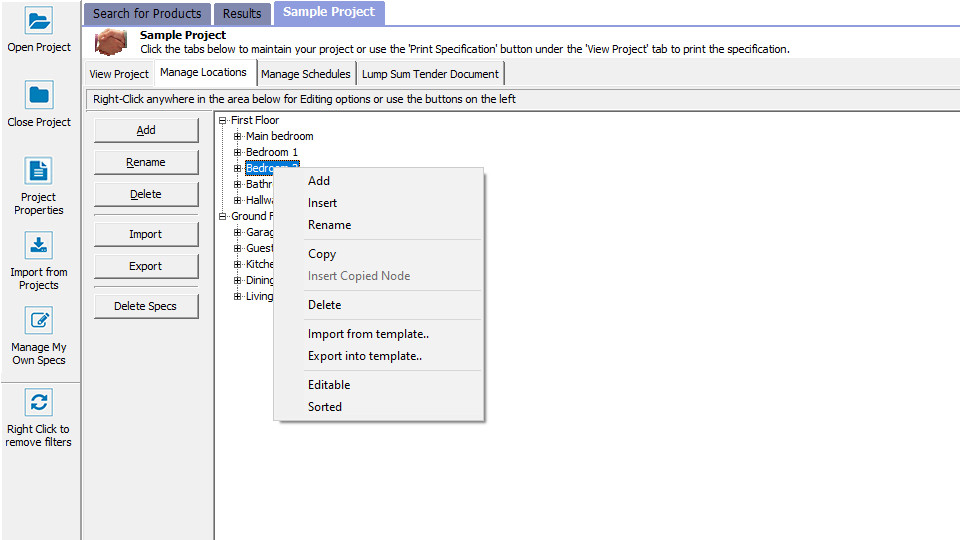
Open a project and select the Manage Locations tab to create, modify or delete locations.
-
Managing Locations
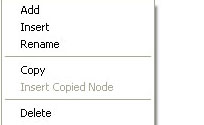
You can add as many sub-levels of locations as you like. To add a sub-location click the + sign on any location and AutoSpec returns you a 'dummy location' called 'Right-click for Tools'. Right click on this and select 'Add' to add a sub-location.
The benefit of using locations is that you can print your specification document by location. Locations are also mandatory when creating sanitary or finishing schedules and help in making the final specification document more legible.
You can also use the export and import function to avoid laying out similar locations for every project. Should you want to create a default "House" layout, create the location set and select 'Export into template'. When starting your new project , similarly use the 'Import from template' to bring in the layout you have previously saved.
This does not include attached products. -
Delete Specification linked to location
You can delete all specifications linked to a location by first selecting the specific location and then clicking on the ‘Delete Specs’ button.
This will start a process where the system will detect all specifications linked to the location and all it's sub-locations. Be aware that the detection process might take some time depending on the size of the project. You will need to confirm removal of each specification individually. -
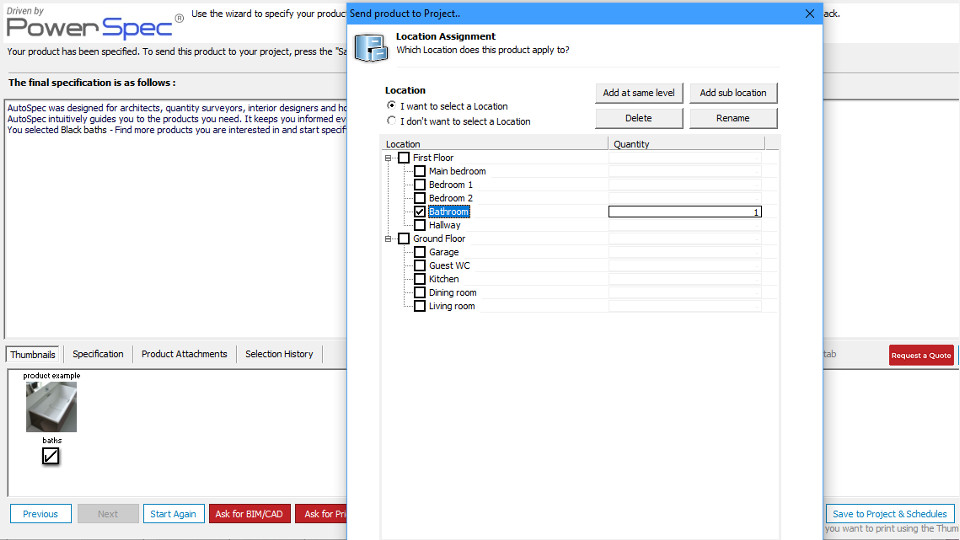
Edit Location from 'Save to Project & Schedules'
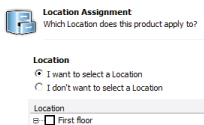
You can assign a location to your product from the 'Save to Project & Schedules' screen.