PROJECTS
 How do I view and edit the products I have specified?
Once you have opened a project using the Open Project screen AutoSpec opens a new tab next to the Search and Results tabs. This tab displays the name of the project. Use the tab strip to navigate between your project and the product search engine.
-
Creating new projects
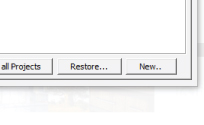
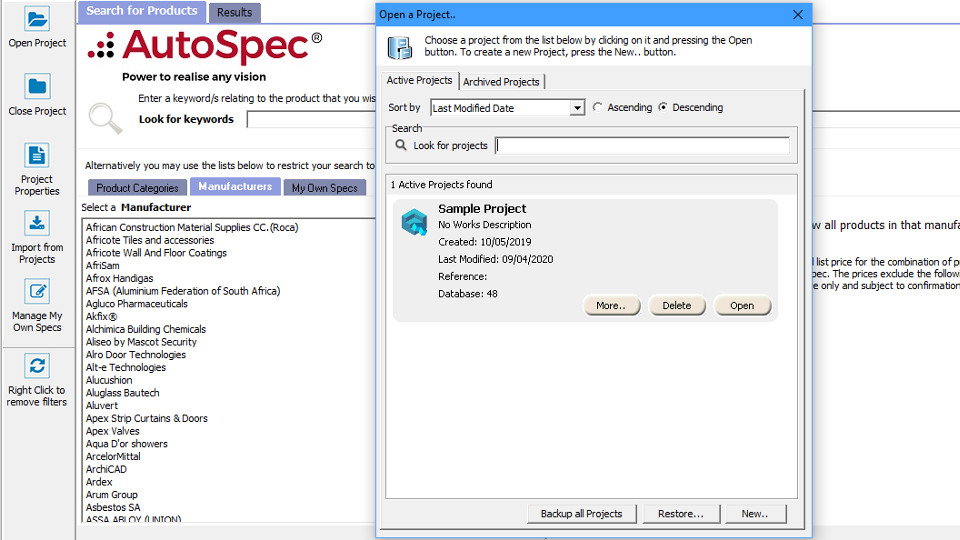
You can create a new project or open an existing project by clicking on 'Open Project' on the right hand side of the screen. Select 'New' to create a new project.
If your project list is getting too long you may want to consider the Backup or Archive features to shorten the list instead of deleting a project. -
Managing Projects
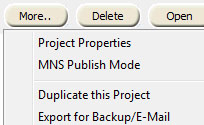
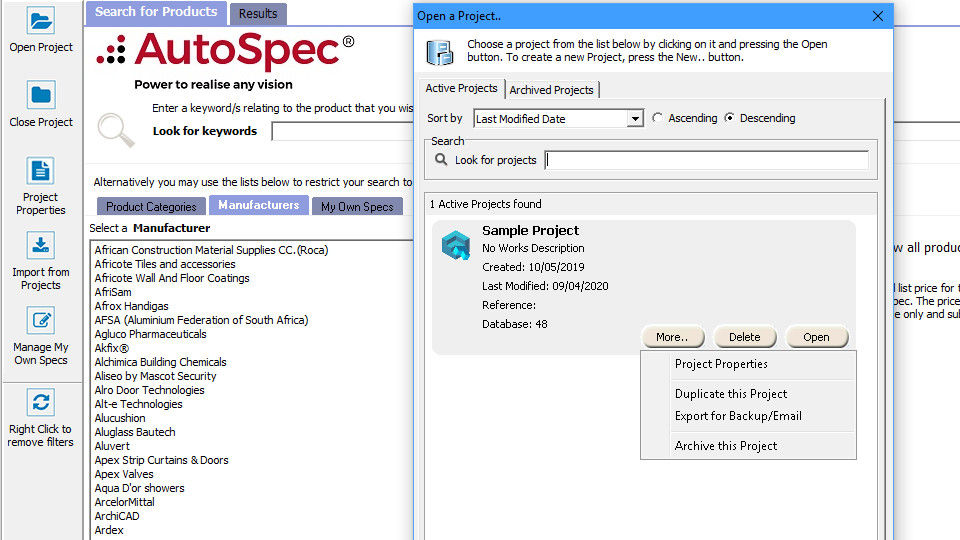
Highlight any project in the list of projects and click on the 'More' button to view additional project management options.
- Project Properties - Allows you to view or edit details of an existing project.
- Duplicate this Project - Use an existing project's data as a starting point for a new project.
- Export for Backup/E-Mail - Compress project into a single file. You will be prompted for a location to save to. Your file will be saved with the extension '.zap'. You can attach this zap file to any e-mail or send it to a backup medium. You can also use the Backup all Projects button to make multiple zap files of each individual project. Use the 'Restore…' button to load projects from a zap file back into the list of active projects.
- Archive this Project - Reduce the amount of projects on the active projects screen to avoid cluttering.
- Project Properties - Allows you to view or edit details of an existing project.
- Model Specifications Please note that you are able to purchase an AutoSpec integrated version of Professor Hans Wegelin’s ModSpec system under the Trade View within AutoSpec’s Project module. This module links ModSpec’s generic specification text to AutoSpec’s manufacturer data to produce the complete Project Specification. This feature will be activated once this module has been purchased. Please contact your sales consultant at info@autospec.co.za.
-
Trades displayed on the view project screen
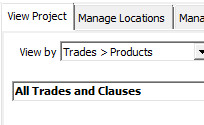
There are two views for a project:
- All Trades and Clauses - Displays all Trades and Clauses, both selected and not selected.
- Currently selected and WIP items - Only displays Trades and Clauses that you have specifically included or that your product selections have automatically included. Within this view you can hide or show the clauses which are not necessary to print as they are taken care of by the Product Specifications and are filtered in or out.
You can swop between these two views using the drop down box provided.
Use the to the left of any level to expand/collapse that level. Click the Expand All or Collapse All buttons to perform this operation for all products in the tree.
- All Trades and Clauses - Displays all Trades and Clauses, both selected and not selected.
-
Modspec Clauses
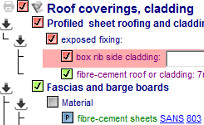
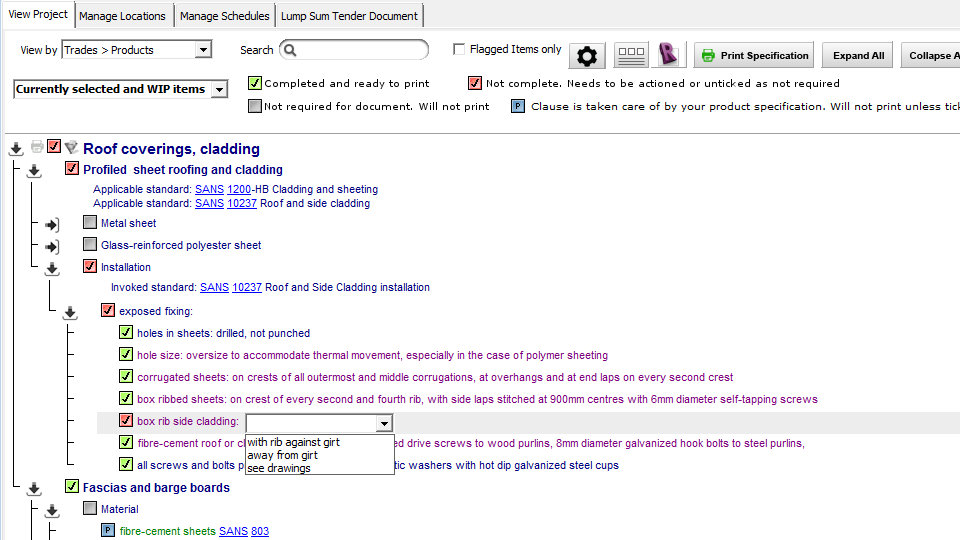
Clauses that are not relevant to your product selection will be filtered out along with ones that are covered by the manufacturer’s product specification. You will then just have to tick the items as they require a choice/decision from you. These may take the form of dropdowns or input fields. The section will not be completed
until all clauses are answered or alternatively you can untick the whole section to grey
items as they require a choice/decision from you. These may take the form of dropdowns or input fields. The section will not be completed
until all clauses are answered or alternatively you can untick the whole section to grey  to indicate that you don’t want it to be included in your document.
By clicking on the filter icon next to each Trade node and turning it grey you will see the previously filtered out clauses that are covered by the Product Specification
  and can elect to include them by ticking them green
Purple clauses have been mapped to value level (eg. relevant to a relevant product type, model or material). If they have been filtered out then they are not relevant. Unfiltering them through the filter icon will make them selectable by ticking them to green
-
Editing products in a project
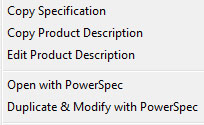
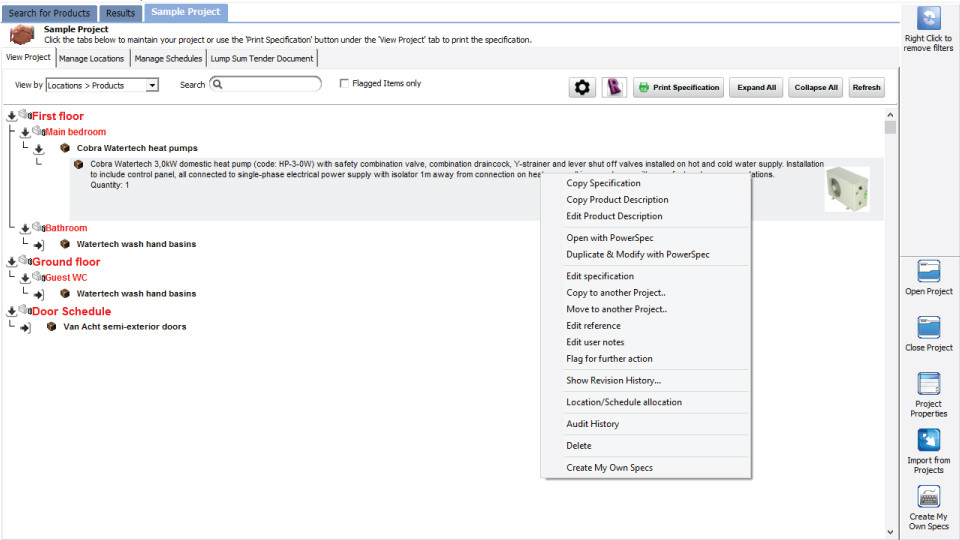
Expand a product to its lowest level (Product Specification level) and right click on the specification to access the editing tools:
- Copy Specification - Copy the selected specification to the Windows clipboard. You may use the Paste function in any other Windows application to access the text on the clipboard
- Copy Product Description - Copy the title of the specification to the clipboard.
- Edit Product Description - Change the Range Name Description.
- Open with PowerSpec - Edit the specification using the product wizard. The product wizard makes editing easy because it shows you which options are available and permissible. If you have edited your specification manually your edits will be lost.
- Duplicate & Modify with PowerSpec - Add another specification to the project from the same range as your original specification.
- Edit Specification - Make any textual modifications to your specification.
- Edit Reference - Each item in your project has a handy reference attached to it. The reference is a piece of text that you may wish to use as an extra note.
- Edit User Notes - You can attach custom user notes to an item. The text will be shown at the end of the main specification text.
- Flag for further action - Indicates that the item in question needs some sort of further action. Items flagged as such appear in blue as opposed to the normal black. Another handy feature is the Flagged items only tick box at the top left of the screen. Tick this box and click Refresh to view only items that are action flagged.
- Location/Schedule Allocation - Change the locations that an item is assigned to or to allocate it to a different schedule.
- Audit History - Shows who last edited the item. This is helpful when more than one person is working on the same project.
- Delete - Delete an item.
- Create My Own Specs - Shortcut to the 'My Own Spec' wizard.
- Copy Specification - Copy the selected specification to the Windows clipboard. You may use the Paste function in any other Windows application to access the text on the clipboard
-
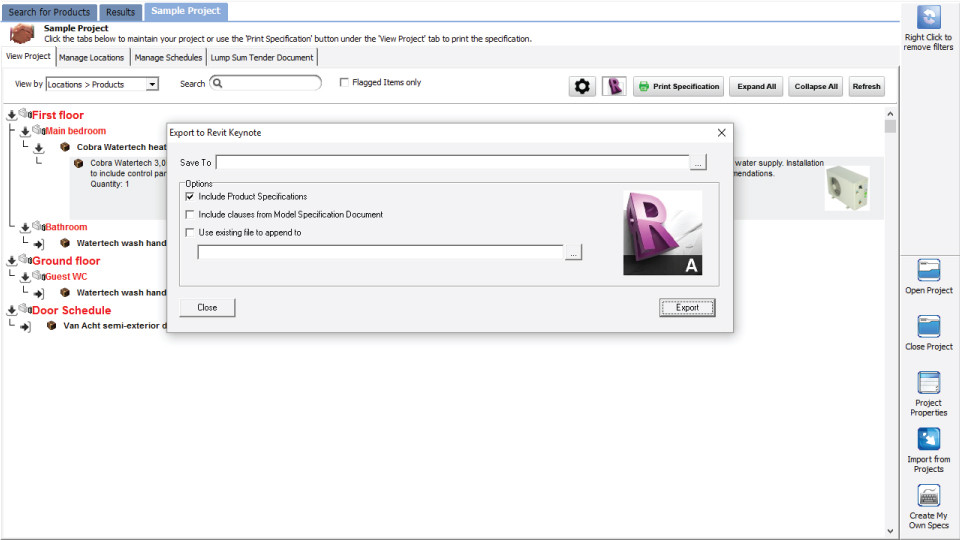
Export your project as a Revit Keynote file

Projects can be exported to a Revit Keynote file which will allow you to use your AutoSpec specifications from within your Revit Model.
NOTE: A project needs to be open to do this.
Click on the Revit icon at the top of the 'View Project' screen and you will be asked to select a location for your Revit Keynote export file to be saved to.
You will also be asked to select which parts of the specification you wish to include under ‘Options’ as well as be given the opportunity to append an existing Keynote file to the AutoSpec one.
Clicking Export will complete the process. Then simply open the file from within Revit and you will have your entire AutoSpec project available to you from within Revit.