SPECIFYING
 What is PowerSpec and how do I use it?
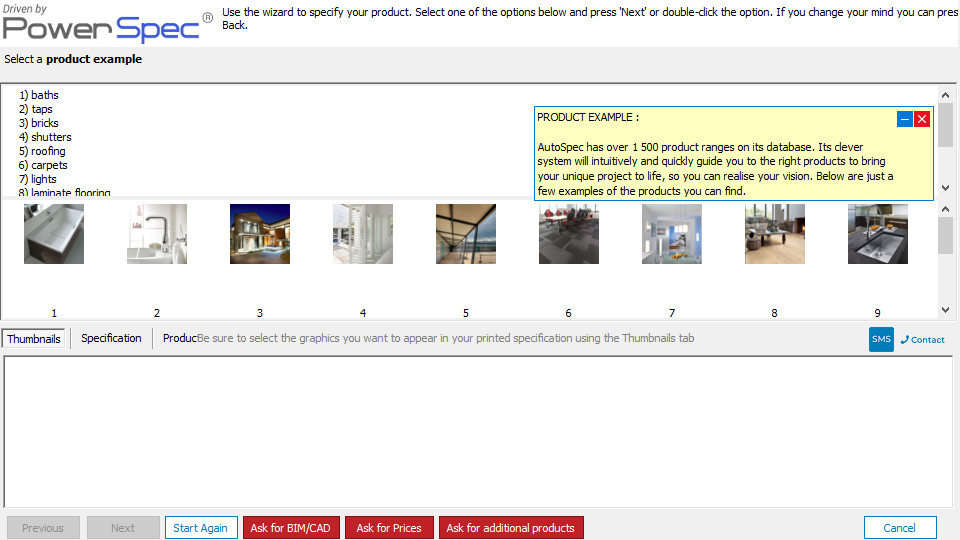
PowerSpec enables you to use a product wizard to build up a product specification through a series of Q and A.
You can launch PowerSpec by opening any product in the search 'Results' tab and clicking the 'Compile Specification' button.
-
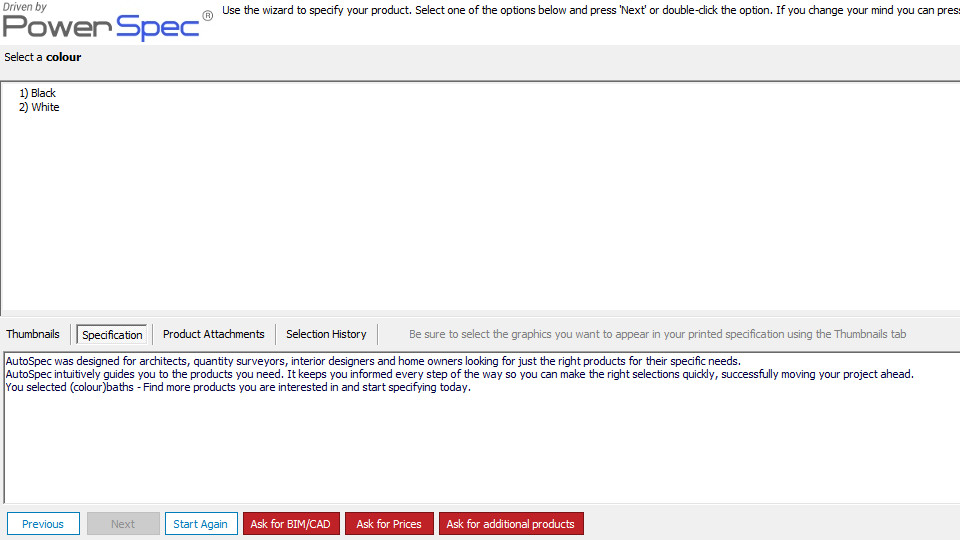
PowerSpec - Q & A
The PowerSpec wizard represents the product options as both text and graphics . Extra product info is represented in the form of a note in the top right corner or a hover note. To select an option either double click the text/graphic or single click the option and click the Next button at the bottom of the screen. Right click the thumbnail to enlarge it and view any line diagrams, CAD/Revit or additional product information if available. -
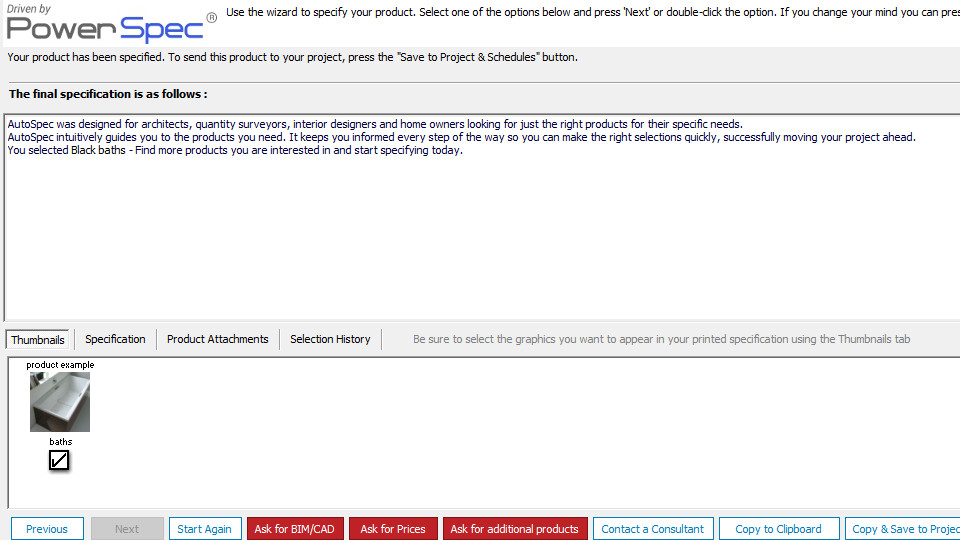
Thumbnails in the specification document
The Thumbnails tab in the bottom pane of the PowerSpec screen displays all thumbnails that are available for the selections you have made so far. Tick the box beneath the thumbnail to add to your final specification document. -
Track your Specification
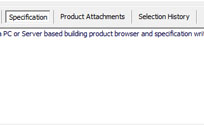
By clicking on the specification tab at the bottom of the PowerSpec screen you can track your specification as it is being built by PowerSpec. It allows you to overview your entire specification at any stage. -
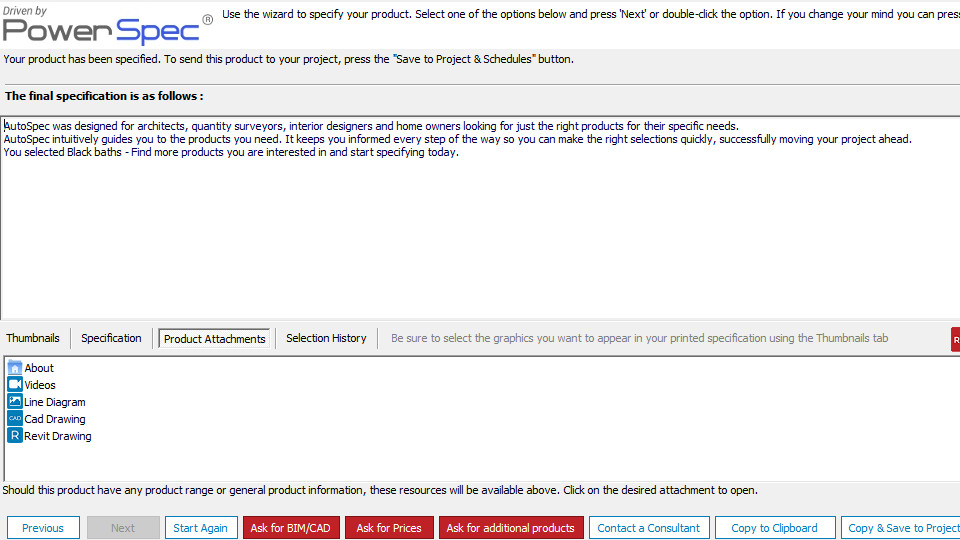
Product Attachments
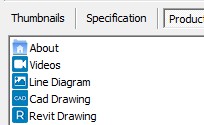
Click on the Product Attachment tab to view additional information about the selected product. These may include product datasheets, line diagrams and CAD/Revit drawings. -
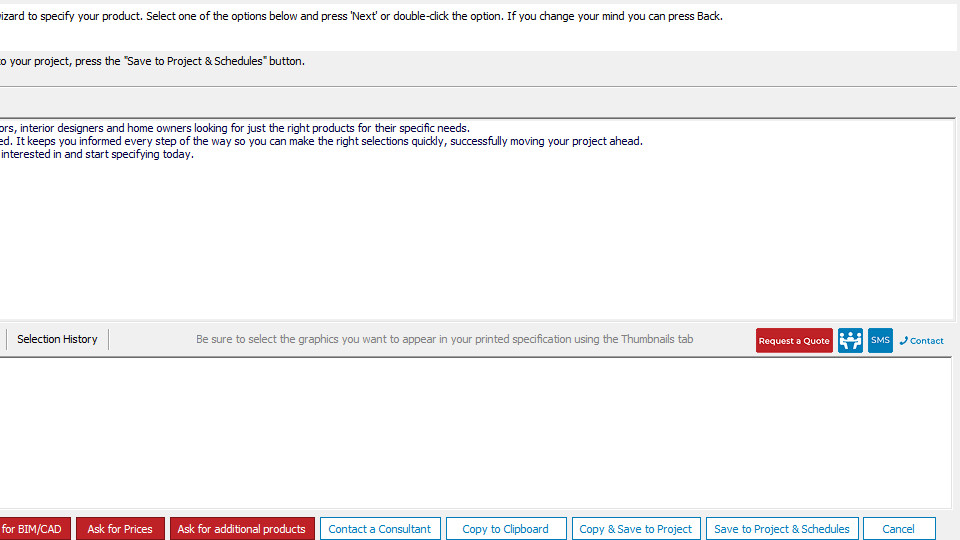
Manufacturer Contact Details
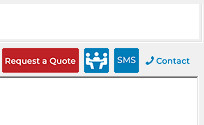
Click on the contact details icon to view their details; or click on the sms icon to immediately sms a manufacturer consultant in your area (this function uses your internet connection to send the text); click on the CRM icon to request a meeting with a consultant or send the manufacturer a quote request for the product you have specified.
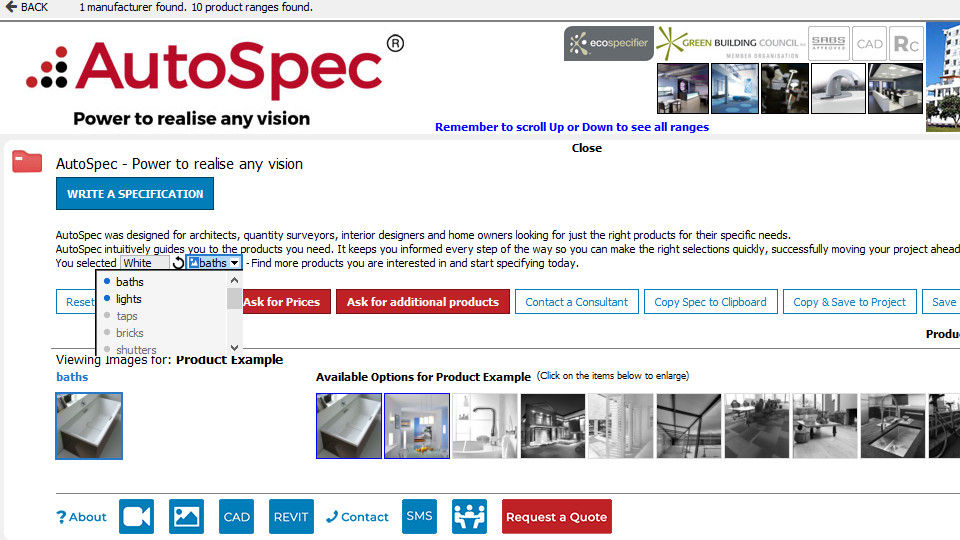
What is SpiderSpec and how do I use it?
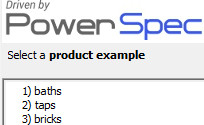
SpiderSpec enables you to quickly build a specification by using a series of dropdowns. By default the product range opens with a default Specification text which can be customised by using the dropdowns.
-
How to use Spiderspec
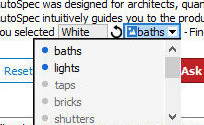
Specifications consist of a number of properties which can be changed by clicking on the drop down list. You may find that if you select a certain option in one property it will change the options that are valid in another property. Valid options are marked with the symbol and options that are not valid
are marked with
and options that are not valid
are marked with  . Once a property has been selected the property box will turn grey.
If the property box is still blue this means that there are options still to be filtered. Drop down lists that can be reset are marked with the symbol
. Once a property has been selected the property box will turn grey.
If the property box is still blue this means that there are options still to be filtered. Drop down lists that can be reset are marked with the symbol  .
To reset the whole specification and start the selection process from the beginning click on the Reset button.
.
To reset the whole specification and start the selection process from the beginning click on the Reset button.
Pricing will display underneath the specification when available. Pricing is often comprised of more than one drop down - If pricing is red it means that there are further selections to be made before the price is complete. The final price will display in green.
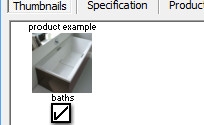
A number of thumbnails typically appear below the spec. Drop downs that have graphics associated to them have a blue border and are marked with the symbol . These graphics will display
when clicked on. Similar to the text properties, valid graphic options are outlined by a blue border and graphics that are not valid have no
border and are greyscale. Click on any thumbnail for a convenient enlarged view of the product and to view any product datasheets, line diagrams and CAD/Revit drawings if available. If the image is valid you will
be able to select it as part of your specification by clicking on the image. If the image is not selectable clicking the image will simply close the enlarged view.
The currently selected thumbnail appears to the left and has a list of product attachments (if available). The undo button to the right of the image will undo the drop down selection that the image is associated with.
. These graphics will display
when clicked on. Similar to the text properties, valid graphic options are outlined by a blue border and graphics that are not valid have no
border and are greyscale. Click on any thumbnail for a convenient enlarged view of the product and to view any product datasheets, line diagrams and CAD/Revit drawings if available. If the image is valid you will
be able to select it as part of your specification by clicking on the image. If the image is not selectable clicking the image will simply close the enlarged view.
The currently selected thumbnail appears to the left and has a list of product attachments (if available). The undo button to the right of the image will undo the drop down selection that the image is associated with.
-
Product Attachments and Additional Product Information
At the bottom of the product range there are a number of icons which give you additional information about the manufacturer and their products. Additional information includes the following (when available): Company profile/product information
 Brochure Downloads
 Video Downloads
 Additional product graphics/line diagrams
 CAD drawings
 Revit drawings
 Preambles which contain additional installation/product requirements.
 Contact Details
 SMS function to SMS a manufacturer consultant in your area (this uses your internet connection)
 CRM function to request a meeting with a manufacturer consultant in your area (this uses your email client)
 Quote request which gets sent to the manufacturer with your product specification(uses your email client)
-
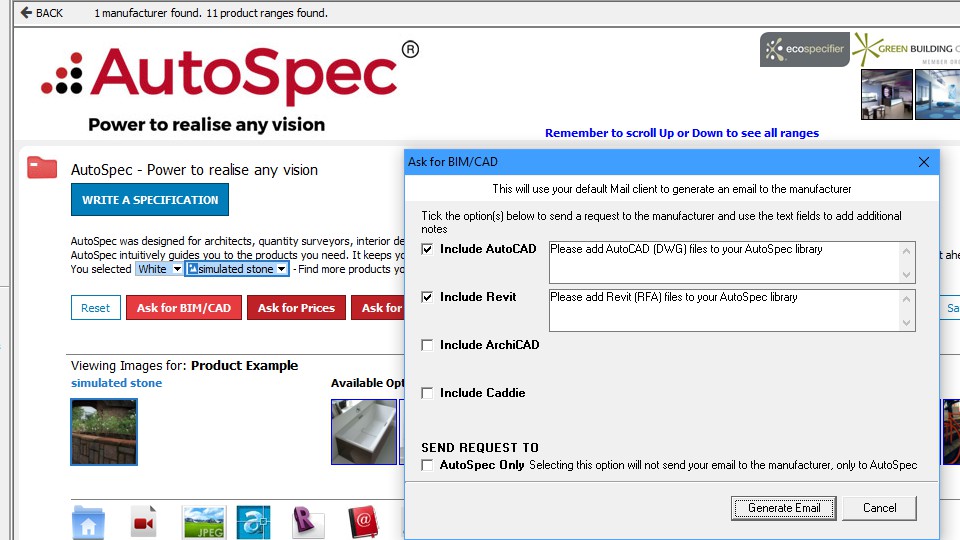
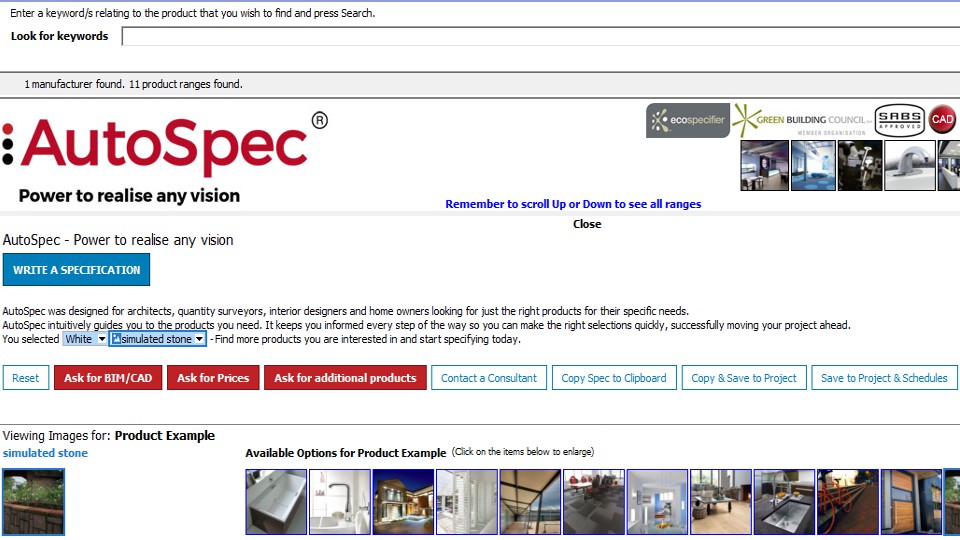
Ask for… Forms
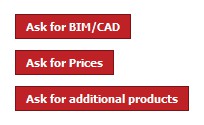
Three red buttons called 'Ask for BIM/CAD', 'Ask for Prices' and 'Ask for additional products' give you the option to request even more information from a manufacturer. -
Utilising your Specification
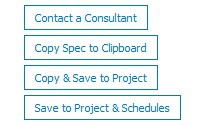
- Contact a Consultant - request a meeting with the manufacturer consultant via email and SMS about the specific Specification.
- Copy Spec to Clipboard - copy your spec to the Windows clipboard. You can then use the Windows Paste function in any other application to paste the specification as text.
- Copy & Save to Project - copy your spec to the clipboard and save your spec to the AutoSpec project that you select after being prompted.
- Save to Project & Schedules - save your spec to a project that you select, during this process you will also be prompted to select a Location and Schedule for the spec.
- Contact a Consultant - request a meeting with the manufacturer consultant via email and SMS about the specific Specification.
How do I create my own specifications and build up my own libraries?
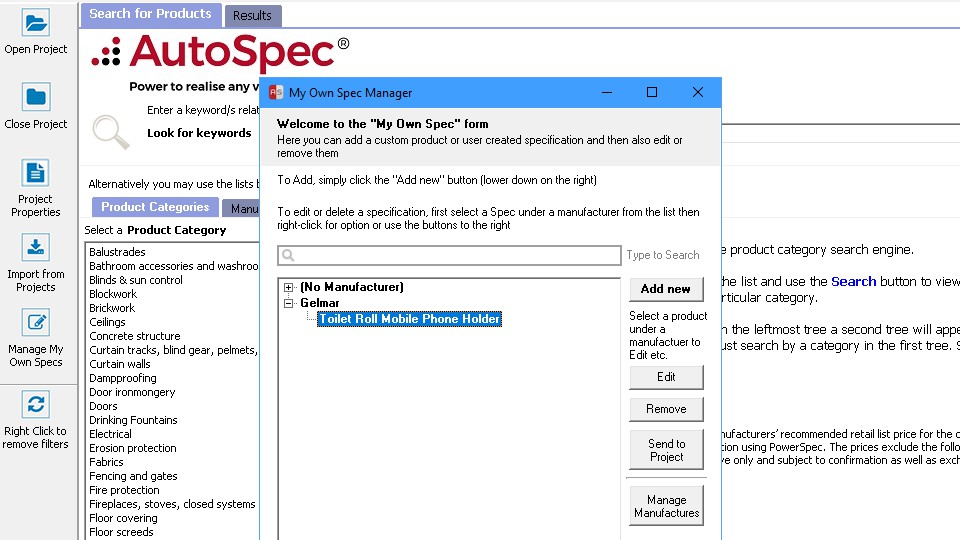
Use the My Own Spec function in AutoSpec to create your own custom specification. 'Manage My Own Specs' is available on the main AutoSpec Toolbar.
The manager form displays all your existing "my own specs" grouped under "my own manufacturers".
From the manager form you can Add, Edit, Delete or send to project and also access the form used to manage custom manufacturers.
-
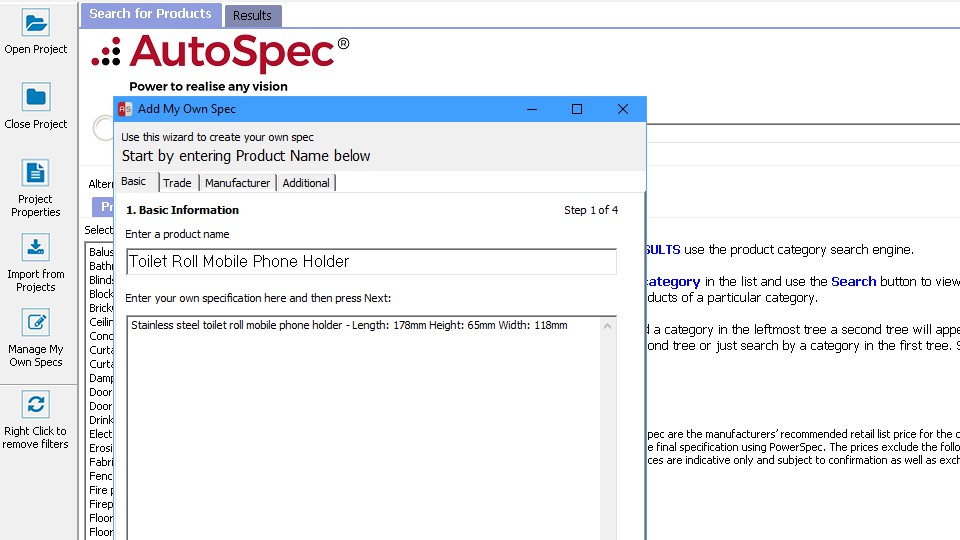
Creating your own specification
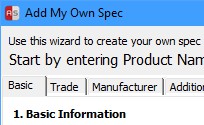
The 'Add My Own Spec' screen takes the form of a step by step wizard. Take care in naming your product as this is reflected on all your documentation generated in AutoSpec.
Bear in mind that these are stored centrally on your server for the remainder of your office to use in future projects so be sure to allocate correctly. -
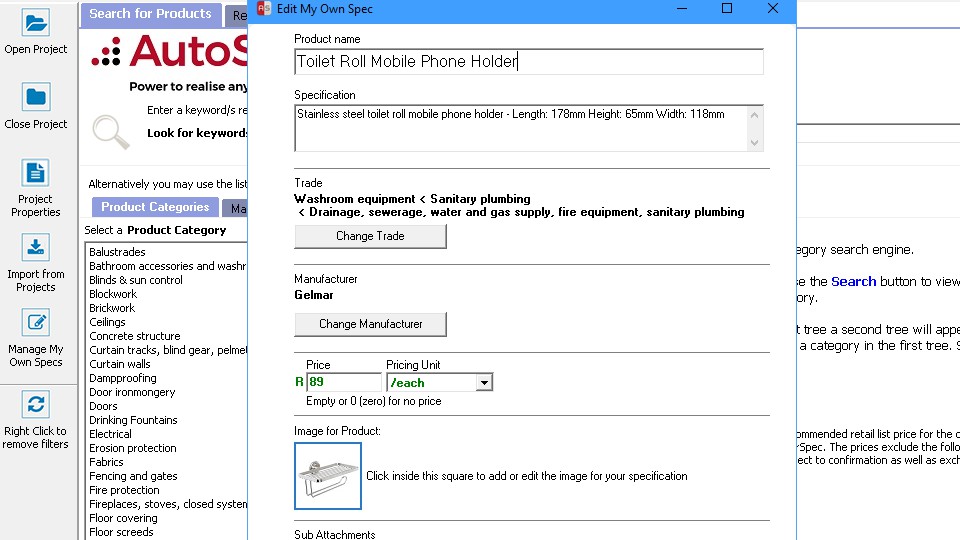
Editing your own specification
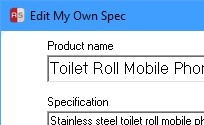
The 'Edit My Own Spec' screen is a summary of all information of your custom spec.
Please note that the trade and manufacturer your spec is currently associated with are displayed in bold. To change the association click on the 'Change...' button provided underneath the name which will take you to the appropriate list of options.